I LOVEEE pizza! I think it might actually be the key to my heart…that being said the good part of my brain normally chimes in and reminds me that this is the year of fitness for me and not endless carbs. So I have started to find alternatives to my not so healthy favourites that are just as delicious.
I LOVEEE pizza! I think it might actually be the key to my heart…that being said the good part of my brain normally chimes in and reminds me that this is the year of fitness for me and not endless carbs. So I have started to find alternatives to my not so healthy favourites that are just as delicious.

Zucchini Pizza Base! Now we have all heard of and probably tried the classic cauliflower pizza but I wanted to try something new. The hunt was on for some alternative pizza bases, I did come across one that uses sweet potato but that happens to be one of my favourite vegetables and I eat it ALL WEEK so that was off the table this time (might have to revisit that at a later date).
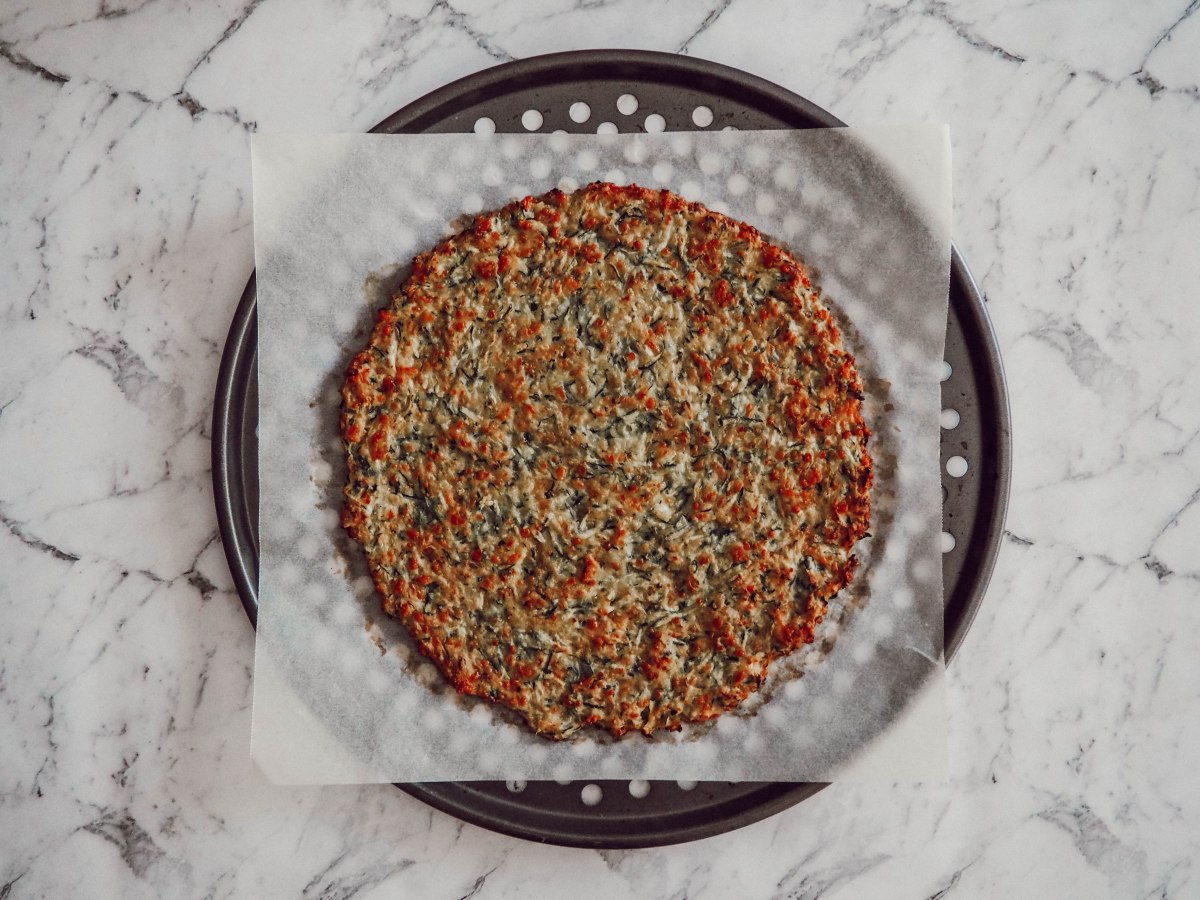
Zucchini was where I landed and after looking at a few recipes and tweaking it for myself I took on the task and WOW. Unlike the cauliflower pizza I’ve made in the past this was even more crispy and held together like a normal pizza base. I don’t know if it’s that fact that the zucchini is grated in larger pieces opposed to when you blitz a cauliflower but I could pick this up with no trouble.
I finished mine off with a few of my favourite toppings – prosciutto, fresh mozzarella and blue cheese. No tomato for me, I prefer my pizza bianco. You can top yours with any of your favourites, that’s what I love most about pizza!
Now for the recipe!
This makes 1 large pizza – I had half with a little salad for a dinner and heated the rest back up for lunch the next day
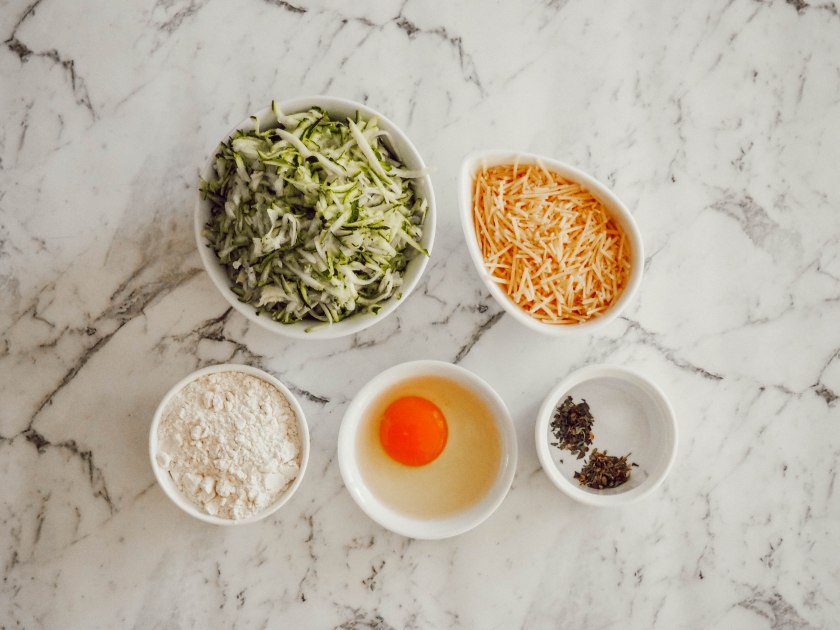
2 Cups grated zucchini
1/2 Cup flour (I used regular flour but you can swap it out for GF too)
1/2 Cup parmesan cheese (you can swap this for a more mild cheese but it adds flavour)
1 Whole egg
1 Teaspoon salt
1/2 Teaspoon of dried basil
1/2 Teaspoon of dried oregano
Step 1. Measure our your ingredients as above. Take the zucchini and squeeze as much water out as you can, I use a clean chux for this.
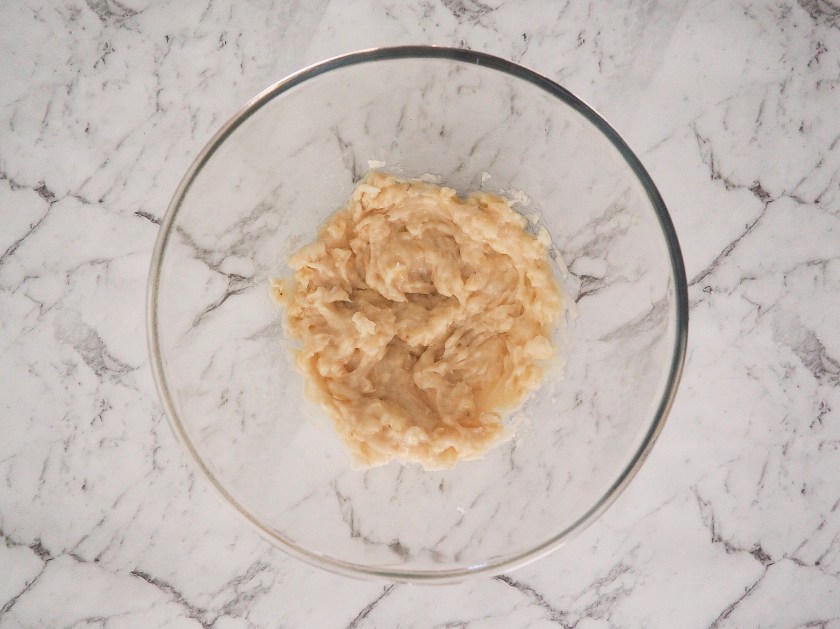
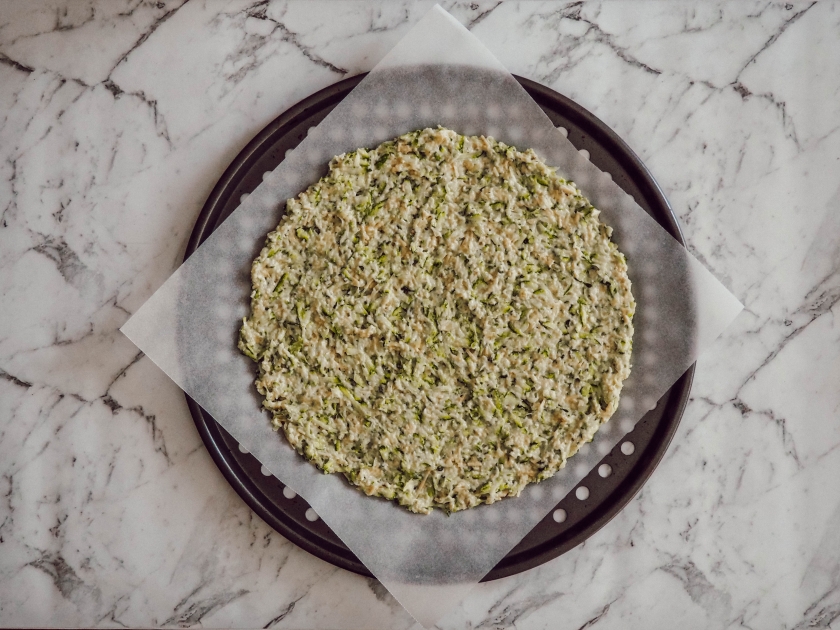
Step 2. Place all ingredients in a large bowl and mix together. You can use a spoon but I just went straight in with my hands. The mixture is pretty wet and sticky but don’t worry that’s how it is supposed to be!

Step 3. Spread mixture into desired shape, about 1/2cm thick. I cooked mine on a perforated pizza tray, but any tray you have will work.
Pro tip: Heat the tray up before hand – even better if you have pizza stone. This will help the bottom get crispy
Step 4. Cooked the pizza 220 degrees celsius for 20 minuets – or until its cooked, golden and crispy

Step 5. Add your toppings and place it back in the oven. This is only to heat up the topping and let your cheese melt. The base should be cooked and crispy by this step.
Last but not least serve and ENJOY!!!